As TMG is not “available” anymore, I decided to use UAG 2010 with SP3 for the Exchange / Lync 2013 publishing. UAG SP3 supports Exchange 2013 and Lync 2013. In Part 1 of the Post I’m going to explain how to build the UAG 2010 Array.
First we have to prepare 2 Windows Server 2008 R2 Server each of them with 2 NIC’s and at least 4GB RAM. The NIC’s should be configured in this way:
INTERNAL
| Default Gateway | should not be defined |
| DNS Servers | should be defined |
| Register this connection’s address in DNS | Enabled |
| File and Printer Sharing for Microsoft Networks | Enabled |
| Client for Microsoft Networks | Enabled |
| NetBIOS over TCP/IP | Enabled |
| LMHOSTS lookup | Enabled |
EXTERNAL
| Default Gateway | should be defined |
| DNS Servers | should not be defined |
| Register this connection’s address in DNS | Disabled |
| File and Printer Sharing for Microsoft Networks | Disabled |
| Client for Microsoft Networks | Disabled |
| NetBIOS over TCP/IP | Disabled |
| LMHOSTS lookup | Disabled |
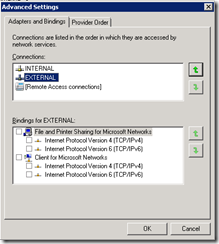
The order should modified that NIC INTERNAL becomes the first NIC used:
The Next steps are to install NLB (without configuring it) and UAG on both nodes. Install UAG in the following order:
- UAG 2010 SP1 Update 1
- If Update 1 fails, download and install it manually
- UAG 2010 SP1 Updat 1
- TMG 2010 SP2
- UAG 2010 SP2
- UAG 2010 SP3
When UAG is fully installed, we have to configure it. Lets start on the node that becomes the Array Manager.
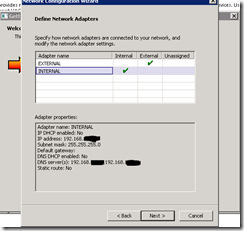
Open UAG and select the Network Settings
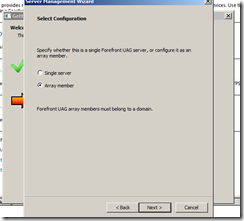
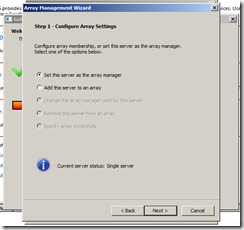
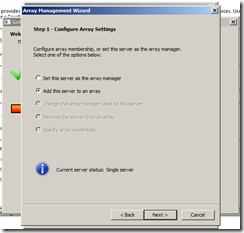
Then we have to define the Topology: Select the node as Array Member and specify credentials
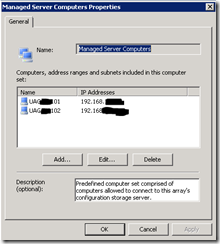
Before you join the 2nd node as the array member, open the TMG console and add the 2nd server to the “Managed Server Computers” group. Install the Policy.
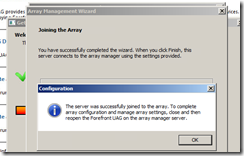
Open the UAG console on the 2nd server and join him to the array
TIP: If the UAG services on the 2nd node don’t start, copy the content of folder C:\Program Files\Microsoft Forefront Unified Access Gateway\von\Conf from the manager to the member server. Then start the services.
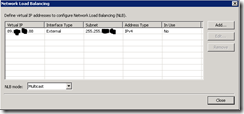
Now we have to configure the NLB from the UAG console. Open Network Load Balancing from the Admin menu and add the first VIP IP:
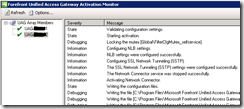
Next you have to save and activate the configuration. UAG is now building the NLB cluster with both nodes. You can check the activity with the UAG Activation Monitor:
Finally we have to open the WebMonitor and navigate to the Array Monitor section. There we have to start the NLB nodes:
After you have started the nodes, the NLB status changes to “Converged”
INFO: When you open the NLB manager, you will get RPC errors. The reason is that DCOM does not work with TMG/UAG. But don’t worry, the cluster is OK if the Web Monitor doesn’t show errors.
In Part 2 I will explain how to publish Exchange 2013 OWA / OA and ActiveSync.
Greetings
dn
