Technical Preview 4 of Windows Server 2016 brings along new "packages" for Nano Server, it can now run DNS and IIS along other roles. See TechNet for a complete list. So to get started with Nano, I tried to deploy it via WDS.
Prepare
Nano Server is not installed like other editions of Windows Server, one has to build a customized image with the roles and packages one needs. This underscores the very nature of Nano Server, being a minimal install with minimal overhead.
Now to create this image we have to mount the Windows 2016 TP4 ISO on our workstation. In the NanoServer folder right at the root of the ISO, we find the .wim along with two PowerShell scripts. There is quite a detailed guide available on TechNet so I am not going into to much detail here:
First import the Module:
ipmo .\NanoServerImageGenerator.psm1
As I ran the New-NanoServerImage cmdlet before, it already converted the WIM to VHD (that's the VHD you'll find at the "BasePath") so I can omit "MediaPath" for subsequent runs and save a little time:
New-NanoServerImage -BasePath C:\nanotemp -TargetPath C:\Nano\Nano_dns.vhd -OEMDrivers -Packages Microsoft-NanoServer-DNS-Package -ComputerName nano_dns -DomainName tomt.it -Language en-us
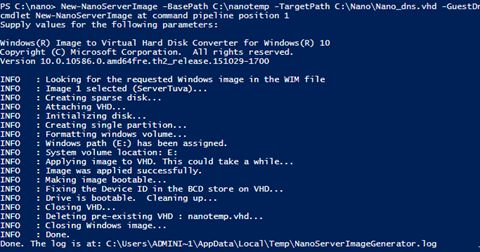
Note: I had to specify the Language parameter as I my system is not using en-us. I am planning to run the VHD on VMware, that's why I included "OEMDrivers" and not "GuestDrivers".
WDS
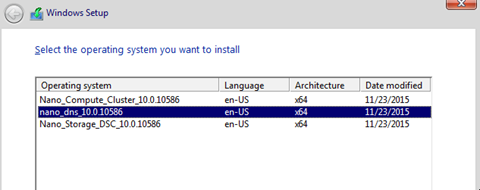
The steps above created a VHD at the target path and in the next step I am adding this VHD as an install image to WDS:
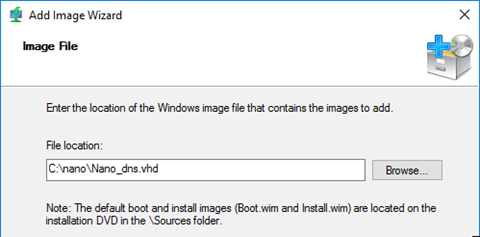
I changed the name to avoid confusion :)
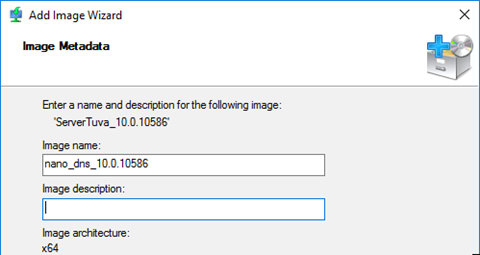
The same can be achieved using PowerShell:
Import-WdsInstallImage -Path C:\nano\Nano_dns.vhd -NewImageName "Nano_dns_10.0.10586"
That's basically it, now we have to create a new VM an pxe-boot from the WDS.
Install
I created a new VM using the "Windows 2016" template in Fusion, but before installing I reduced the size of the new virtual disk to 10G, which still is way to much ;)
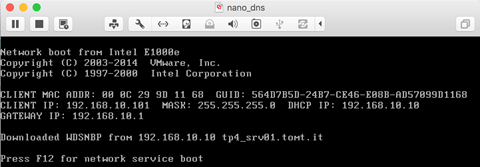
Very few miutes later our new DNS server is ready.
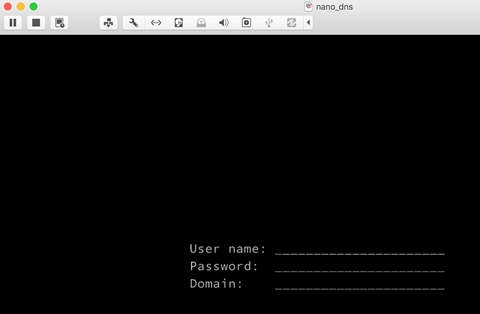
There is nothing really to be done on the server console, the "Emergency Console" can be used to configure networking, the rest is done with RSAT or PowerShell remoting.
DNS
To test the functionality of my newest Nano Server, I actually set up DNS:
So first of all, using Get-WindowsFeature I checked which features were installed and which ones were available. As you can see from the screenshot, there are not very many features available:
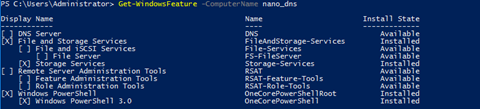
Using the following command, I installed DNS Server role:
Add-WindowsFeature -ComputerName nano_dns -Name DNS
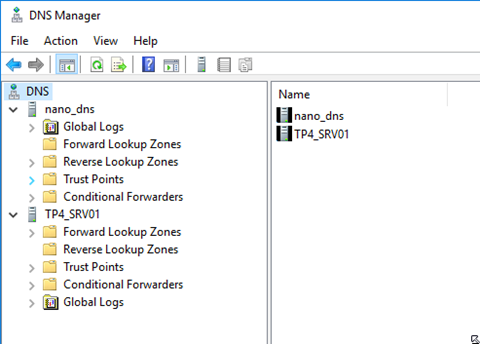
After that, I was able to add the Server to the DNS Management console and configure DNS zones:
Oh, and of those of you who care, the size of the virtual harddisk is 626,6MB. Awesome, right? :)

Enjoy, Tom