Let’s focus on Option 1 the direct Azure VM Backup:
The Backup Tasks
We are now going to Backup an Azure VM from the Web interface. First of all, you have to start a discovery search.
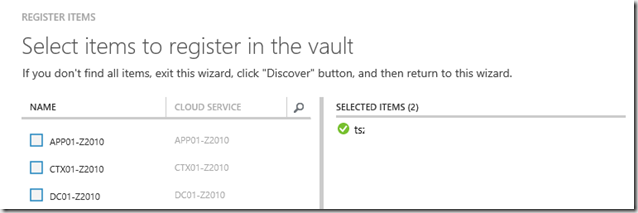
When the discovery search is completed you can select the VM you want to Backup.
Keep in mind: Today it’s not possible to Backup VM’s that's located on the Azure premium storage (SSD) or VM’s in created with the Resource Manager model.
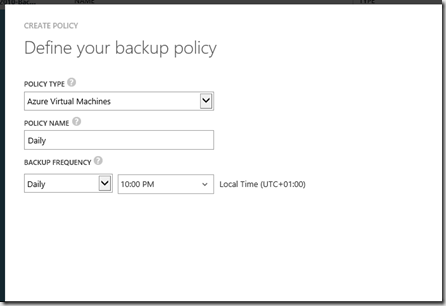
The next step is to create a Backup policy. You can have a single policy that works for all servers or multiple policies with different settings regarding Backup Windows and retention period. This step should be known from other Backup solutions.
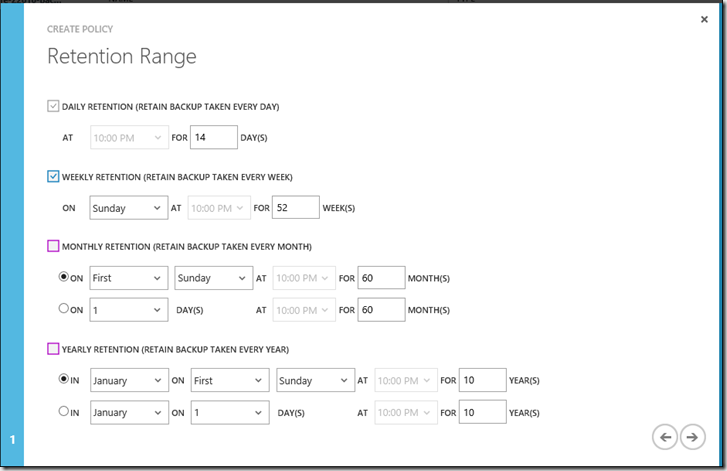
On the retention range page you specify how long protected VM’s are kept.
We have created the Backup policy and can now assign it to our VM.
From now a VM Backup will be started on a daily basis.
Lets restore a VM
To restore a VM you basically highlight the VM in the Backup Vault and select the Restore function.
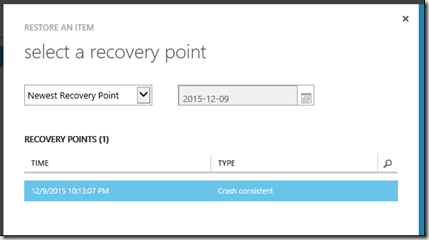
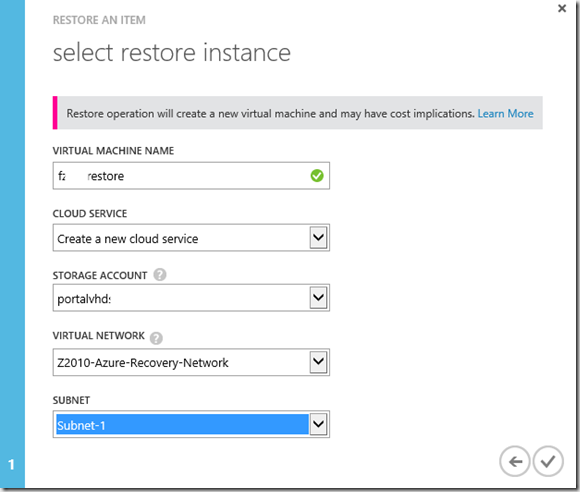
After you selected the restore point you want to restore, the wizard asks you some information. This step is important because you can specify the name and VNET the VM will belong to. Be careful to not place you restores VM in the same Network as the productive one as this is only a test.
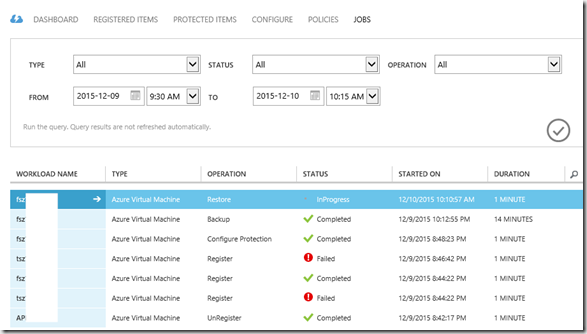
A nice log shows the progress and result of the restore request.
When the restore is done a new VM with the specified name is visible in the Virtual Machine section of Azure. We can start this VM, restore our files or put the VM into production if this was a real restore.
Greetings


