In this post I use the screenshots taken in my test environment to walk through the steps of setting up a Lync 2013 Standard Edition Front End Server in a test environment.
Install Deployment Tools
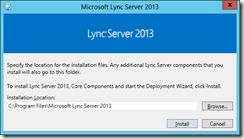
First of all we need to install the Lync Deployment Wizard on a server, this doesn’t necessarily have to be the Lync Server, although it’s a good idea to use this server. So, start Setup and select a location for the installation files.
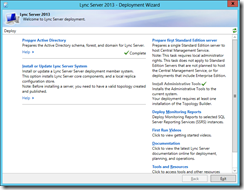
After that installation finishes, we we start the Deployment Wizard and install the administrative tools.
Preparing Active Directory
Warning: This is going to update the AD schema, make sure you are in test environment.
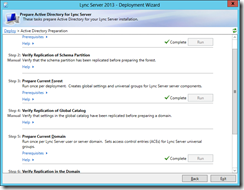
From the Lync Server Deployment Wizard click “Prepare Active Directory” and update schema, prepare the forest as well as the current domain.
The following cmdlets can be used to check domain/forest readiness.
Get-CsAdDomain: If Domain is ready: LC_DOMAINSETTINGS_STATE_READY
Get-CsAdForest: If Forest is ready: LC_FORESTSETTINGS_STATE_READY
Now preparing the current domain created some AD groups used by Lync. Add the account used to administer Lync to the CSAdministrator group.
Define Topology
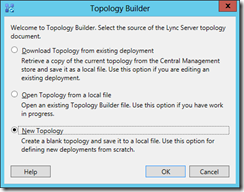
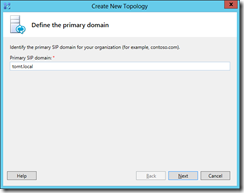
After preparing Active Directory we are ready to create a new Topology using the Topology Builder. So we start Topology Builder and create a new Topology
Specify a primary SIP domain, additional SIP domains can be specified in the next step.
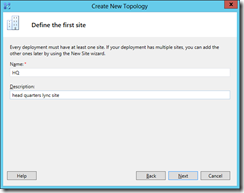
The first thing we need to create is a new Site within our new topology, specify a name and some details for the first Lync Site
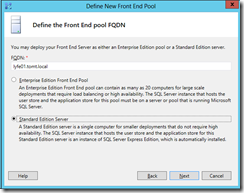
Start the New Front End Pool wizard after finishing the New Topology wizard and enter the FQDN of your Lync Standard Edition Server.
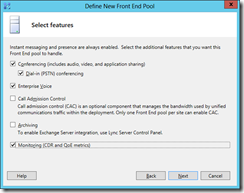
Specify the Lync Server Features to be installed on this server
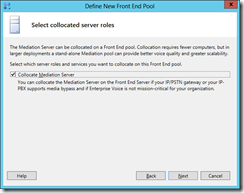
As we add Enterprise Voice and Conferencing we need a Mediation Server, tick the check box to Collocate the Mediation Server
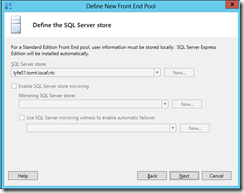
Define the SQL Store for the front end pool, as we install a Standard Edition Server we cannot change this
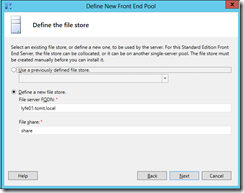
Select a File Share that has already been added to the Topology builder or create a new one
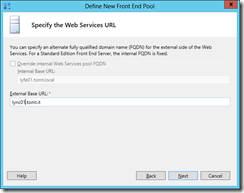
Specify the external URL, this URL will be used by external clients
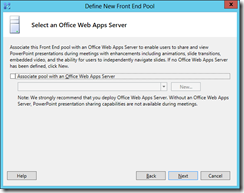
Associate an Office Web Apps Server that has already been added to the Topology or add a new one, if you have one
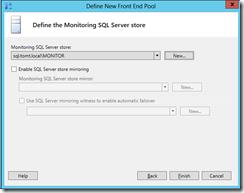
If you selected the Monitoring on the features page, specify a SQL instance with Reporting Services. This can be installed locally or on a remote SQL server
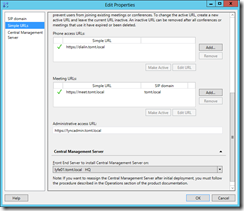
After finishing the new Front End Pool wizard, configure Simple URLs and Associate Central Management Server by right clicking “Lync Server” and selecting Edit Properties in the Topology Builder
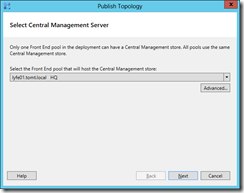
Check the Configured Settings and publish the Topology by selecting Action from the menu and clicking “Publish Topology”
Ok, nice work. We have just created and published our Lync 2013 Topology. Time to get the Server ready.
In the next post I will walk through the actual installation of the Lync 2013 Standard Edition Front End Server.
so long,
tom
