The preview of the next version of Windows Server 2012 has been released very recently. Let’s have a quick look at some of the features.
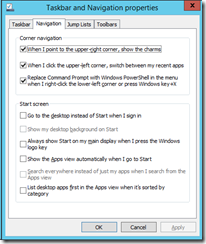
The taskbar properties feature a new “Navigation” pane, we can configure stuff like “Boot to Desktop”, yay :)
Web Application Proxy and ADFS
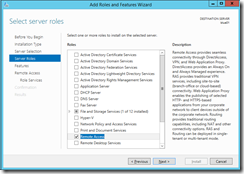
Another desperately needed feature is the new Web Application Proxy server role, many people (including me) think this is going to be the replacement for TMG. So, very keen to play with the new toy I went ahead and added the server role, found underneath “Remote Access”.
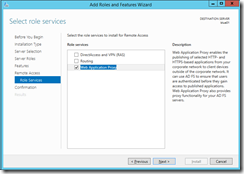
Adding “Web Application Proxy” as a role service.
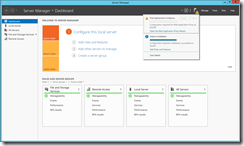
Like in Windows 2012 the server manager kindly reminds me to configure the newly added role:
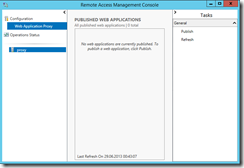
Just in case you want to run this wizard again but can’t find it anymore, it can be started from the Remote Access Management Console.
The first step in the Wizard asks for a federation service name, now until this moment I didn’t really bother researching anything about this new server role. Not the smartest move… As documentation is still pretty thin for Windows Server 2012 R2 I decided to simply set up an ADFS server in my lab and try to connect the Web Application Proxy to that federation service.
Active Directory Federation Services
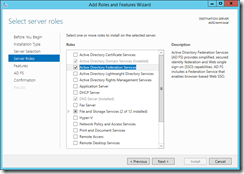
The first step is to add the Active Directory Federation Services server role to an machine in the domain.
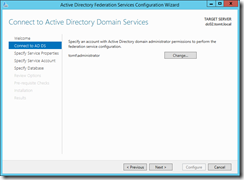
Again, the Server Manager reminds me to configure the new role, the first thing I do is supplying credentials which are used to perform the configuration:
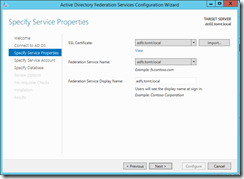
In the next step I select a certificate for the federation service and set a name for it. Obviously I do have to create a DNS record that resolves the federation service name to the IP address of the server that’s actually hosting it.
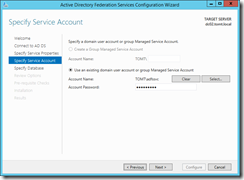
Now I have to select a service account for the federation service, note that the federation service name must be added as Service Principal Name to the account. This can be done using “setspn –F –S host/adfs.tomt.local adfssvc”
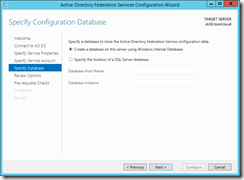
In the last step I select the database to use for the federation service, as I am using only one server I’ll give the Windows Internal Database a go.
Ok, no we do have a federation service running, so we can go ahead and configure the Web Application Proxy.
Web Application Proxy
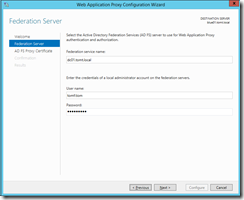
Ok, picking up where we left for a quick excursion to ADFS, we are now back on the Web Application Proxy machine and specify the newly created federation service name.
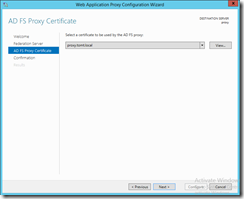
A certificate is required on the proxy, too. So after requesting a certificate from my internal CA, I can go ahead and select it here. Make sure that the certificate’s subject alternative names include the federation service name!
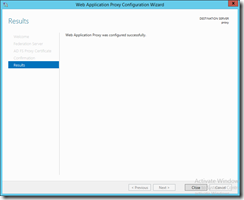
Ok, the last step shows the PowerShell code that get’s executed and if everything works out, you’ll see a message that the Proxy was configured successfully.
A few caveats: Make sure DNS resolution is ok, the proxy must be able to resolve the federation service, and the ADFS server must me able to resolve the proxy. The certificate on both servers must include the federation service name.
Publishing a service
After having configured ADFS and the Web Application Proxy, which also acts as ADFS Proxy, we can finally proceed and publish a server. This is done using the Remote Access Management Console.
I hit publish in the tasks pane and in the wizard that comes up, I am asked to select if I want to use pre-authentication or simply pass-trough the requests. After all that pain with installing and configuring ADFS I do definitely want to use pre-authentication :)
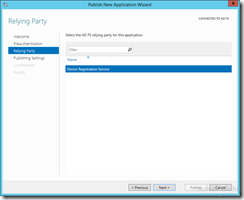
Ok, so I have to select the ADFS relying party, whatever that is:
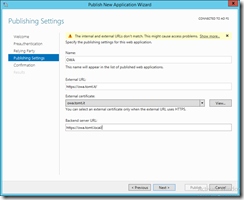
After that I am prompted to enter a name for the publishing rule, an external and internal URL as well as a certificate.
Again, we get to see the actual PowerShell code just before the publishing rule is created. Niiice, we have just successfully configured our first "post TMG” publishing rule.
Testing
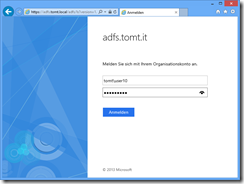
Now to make sure that this is really working, let’s fire up a client and browse to the published URL, owa.tomt.it in my case. Browsing to a published web site that requires pre-authentication, redirects the client to the AD FS Proxy service.
After successfully authenticating against the Web Application Proxy the client gets redirected back to it’s intended destination web site.
Note: Make sure the client actually behaves like an external client, it must resolve the federation service name to the Web Application Proxy for this to work!
Port mapping
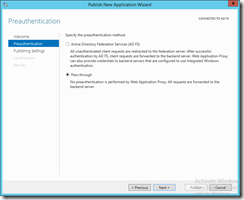
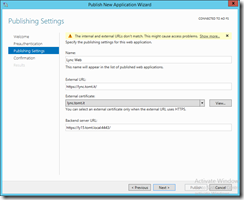
Another application that I do publish using TMG frequently is Lync, sure enough I have to map the external web services port from 443 to 4443. This can be done using Web Application Proxy, too. For Lync we don’t use pre-authentication:
The internal URL contains the port to use:
Awesome, that gives us a new possibility to publish web services, obviously we are not yet able to use it in production and time will tell if it get’s a few additional features in RTM, all in all, for no additional cost, I think it is already a nice tool to use.
Wish list,or: What would be nice to have in the RTM Version of Windows Server 2012 R2:
Publish multiple servers for a particular external URL (think load balancing)
Health checking of internal servers
Maybe some additional authentication possibilities
That’s it for today, so long
tom
